When it comes to email segmentation, Mailchimp is one of the companies that have been there since pretty much day one. And remember, “Day One” isn’t all that long ago. Although online retail was first made possible in the early eighties and grew rapidly from the mid-nineties onwards, it’s only in the last decade or so that eCommerce has become the new normal. Nevertheless, Mailchimp is one of the founding companies of email marketing strategies and has led the way in designing tools to enhance eCommerce marketing. In this article, we will introduce you to the benefits of email segmentation. You’ll get to learn a bit more about Mailchimp Segments specifically.
Email Segmentation: Mailchimp’s Speciality Tool!
These days, keeping your existing customers engaged with your business, and attracting prospective new clients to the virtual door of your online store, requires a whole new marketing approach.
And by far the most efficient and successful way to do this is via email.
However, customers, these days are pretty savvy when it comes to receiving emails. We are all bombarded with these electronic messages, so to ensure that your marketing emails are heard above the racket of all the other marketing noise, you have to make them stand out.
That’s where email automation and email segmentation, Mailchimp’s specialty tools, come into play.
What is email automation and segmentation?
An automated email workflow is a system that allows you to automatically send out emails to existing and potential clients in order to keep them engaged with your business, keep them up-to-date and informed, and, most importantly, keep them spending their cash in your online store.
But gathering and evaluating customer information, and then sending out emails based on all that data, is a large job.
By using an email automation system, you can create and send emails containing the proper message, to the correct set of people, at the perfect moment…without having to do it all yourself.
An automated email workflow will collect data such as:
- Your customer’s contact details
- Browsing and purchase history
- Relevant personal information.
It will then use this information to create email messages to be sent out based on certain pre-ordained triggers.

Automated emails can be triggered by such things as:
- Browsing and shopping behavior
- Servicing and purchasing anniversaries
- Hello and welcome emails
- Cart abandonment
- Personal events such as wedding anniversaries and birthdays.
But even with an automated email workflow system doing the heavy lifting, you still need to ensure that your customers aren’t just receiving blasts of generic, untargeted emails.
You need to break your client database up into specified groups. And that is where Mailchimp’s list segmentation comes in.
Data is your business’s best friend
The data that your clients provide you with can include such things as:
- What they’re interested in
- Where they live (including the season and timezone)
- What is their age and gender
- How they browse and engage with your website
- What sort of after-sales service do they expect.
All of these tasty snippets of data can be used to build your marketing strategy in ways that address their specific needs, desires, and circumstances.
List segmentation enables you to create extremely focused mailing lists based on a wide variety of benchmarks: from a form submission and product inquiries, right down to specific metrics such as the number of clicks they make per page on your site.
→ Discover our 5 Email Segmentation Ideas to Build Better Email Campaigns for Your Brand
Create unlimited segments
When it comes to setting up your list segmentation, Mailchimp gets straight to the point, with a set of segmentation tools that provide you with the ability to create lists based on an almost unlimited set of criteria.
You could, conceivably, go as far as creating a segment just for customers called Ferguson if you wanted to.
Mailchimp Segmentation – How to Segment Lists
Let’s assume, for the moment, that you are an existing Mailchimp subscriber and that you already have your Mailchimp email automation workflow set up.
This workflow will have been working away quietly in the background, collecting information about your customers and filing it away into lists for you.
So now, let’s go in and segment one of those lists into something more manageable.

Start with your main lists
Open up your Mailchimp interface and select Lists from the four options at the top of the page, located on the left beside Freddie, the Mailchimp icon.
Select the list that you wish to adjust and break it down into segments, and select the Segments button in the grey bar.
The New Segment pane will open up and you can select the parameters that you want to apply to this new list. So far, so good…
Add some extra parameters
Now you can begin to really drill down into your range of subscriber data and make this list extra focused.
Click on the blue ⊕Add button and select from the lists of criteria that are provided.
For example, you could select subscribers that have signed up for your business’s email newsletter since a given date: say, since the last newsletter was sent out.
You can then preview the segment by clicking the Preview Segment button (bottom left) to check how many subscribers the system has found in your database, and added to this segment.
Within its email segmentation, Mailchimp automatically assigns a number of stars to each contact, so you can see which recipients are good at opening your emails…and which ones are not and maybe need to be purged from the segment.
The contact rating button
Now we’re really getting down to the nitty-gritty. Isn’t this fun? Click on the Edit button (in the middle top right) and choose the blue ⊕Add button again.
Now you can select the Contact Rating option which will automatically remove any contacts with less than, say, two stars (meaning that they’re not very responsive.)
If you choose the Less than three stars option, the Mailchimp system will add all of those “greymail” users to a removed panel, without being too harsh on the subscribers who are average engagers.
You may not want to actually remove them from the list just yet, but want to keep tabs on their future engagement.
Preview, repeat, and don’t be afraid to delete
And that’s it. You can carry on adding parameters to your segment until it is focused down to the Nth degree.
Just make sure that you are previewing each successive change to make sure that you aren’t getting too tightly focused and ending up with segments containing only a few contacts.
And remember…those subscribers that don’t open your emails. Time to let them go. Parting is such sweet sorrow (Shakespeare said that) but there’s no point in hounding clients that don’t respond.

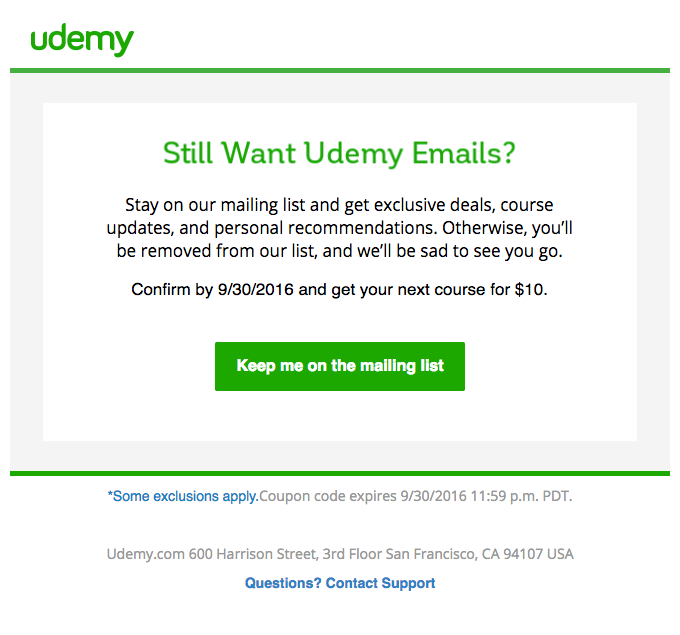
However, before you kick them into touch, you could try sending them a friendly “Hi there, do you still want to receive my emails” kind of message. You could set up a segment for that too!
The Pros and Cons of Mailchimp Email Segmentation
OK, now you know how to segment lists in Mailchimp. But like all software for email segmentation, Mailchimp has both strong and weak points. So let’s check out a few.
We’ll keep this short and sweet, though, because you have segments to build.
The pros of Mailchimp
- Mailchimp users will find that it is very simple and intuitive. Its Drag and Drop features make it easy to create lists and to make additions to the parameters attached to those lists.
- With plenty of freebie options, Mailchimp is ideal for small startups, non-profit organizations, and individuals such as bloggers.
- Mailchimp offers some pretty robust segmentation methods in its list management tools. These allow you to combine up to five positive and/or negative parameters to each segment, which is about as many as you can apply to a segment before it becomes too tightly focused to be effective.
The cons of Mailchimp
- Mailchimp charges per subscriber, so it’s important to keep your lists purged of contacts that don’t respond open or engage. Otherwise, you’ll be paying to send emails to contacts that aren’t even remotely interested in what you have to say.
- Depending on the Mailchimp package that you choose, Mailchimp does put limitations on the number of lists and segments that you can create. Of course, you always have the option to upgrade as your business and client list grows.
Alternatives to Mailchimp
Depending on your business, the email segmentation Mailchimp offers may or may not be the right one for you.
There are plenty of others to choose from, such as Constant Contact, Send in Blue, Hubspot, and MailerLite.
Our best advice is to give some of them a try and choose the one that works best. Who knows, perhaps Freddy the Chimp will be the one for you!
Frequently Asked Questions:
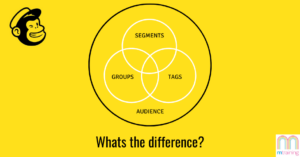
1. What are segments vs groups in Mailchimp? Mailchimp groups are a category within your list, and these are mostly based on what your subscribers prefer/ or are interested in. While on the other side, Mailchimp Segments are a specific set of filters within your list where subscribers in the segment share common qualities (purchase activity).
2. When should you use a segment instead of a group? Groups are used when a person joins your signup form, so that way you know where they’re coming from (embedded form in the footer, the main page pop-up, and similar). On the other side, Mailchimp Segments are automatically updated and dynamic, and they will change based on the conditions you set.


