As eCommerce and online retail become more and more common, keeping your customers and clients engaged is one of the primary tasks of your business’s marketing team.
Whether you have an office full of skillful marketing operatives, or you are just handling your client relationships yourself, managing your client database, and ensuring that your clients are kept engaged through perfectly-timed emails, is a vital, but time-consuming job.
Hubspot list segmentation allows you to divide your bulky client list into more manageable chunks – or “segments” – of subscribers. By doing this, you can then target each group with user-specific emails containing information that is relevant and meaningful to them.
In this article, we will provide you with a simple guide to Hubspot list segmentation, and give you some handy tips about how to segment your client database into manageable and hyper-specific groups.
What is Hubspot List Segmentation…and Why Do You Need It?
Before we jump into Hubspot list segmentation, let’s have a quick refresher about automated email workflows and why they are so important.
Automatic for the people
An automated email workflow is a system that allows you to automatically send out emails to existing and potential clients in order to keep them engaged, keep them informed, and, most importantly, keep them spending their hard-earned cash in your online store.
An automated email workflow will collect data such as your customer’s contact details, browsing and purchase history, and relevant personal information. It will then use this information to create email messages to be sent out based on certain pre-ordained triggers.
Automated emails can be triggered by such things as:
- Cart abandonment
- Purchase anniversaries
- Welcome emails
- Browsing behavior
- Personal events such as birthdays.

Too much information
Collecting and analyzing customer information, and then sending out emails based on all of this information, is a big job.
Email automation is a way in which you can create and send emails containing the right message, to the right people, at the perfect moment…without having to do it all yourself.
But even with an automated email workflow system doing the heavy lifting, you still need to ensure that your customers aren’t just receiving blasts of generic, untargeted emails.
You need to break your client database up into specific groups. And that is where your Hubspot list segmentation comes in…like a hero riding in to save the day.
Hubspot list segmentation
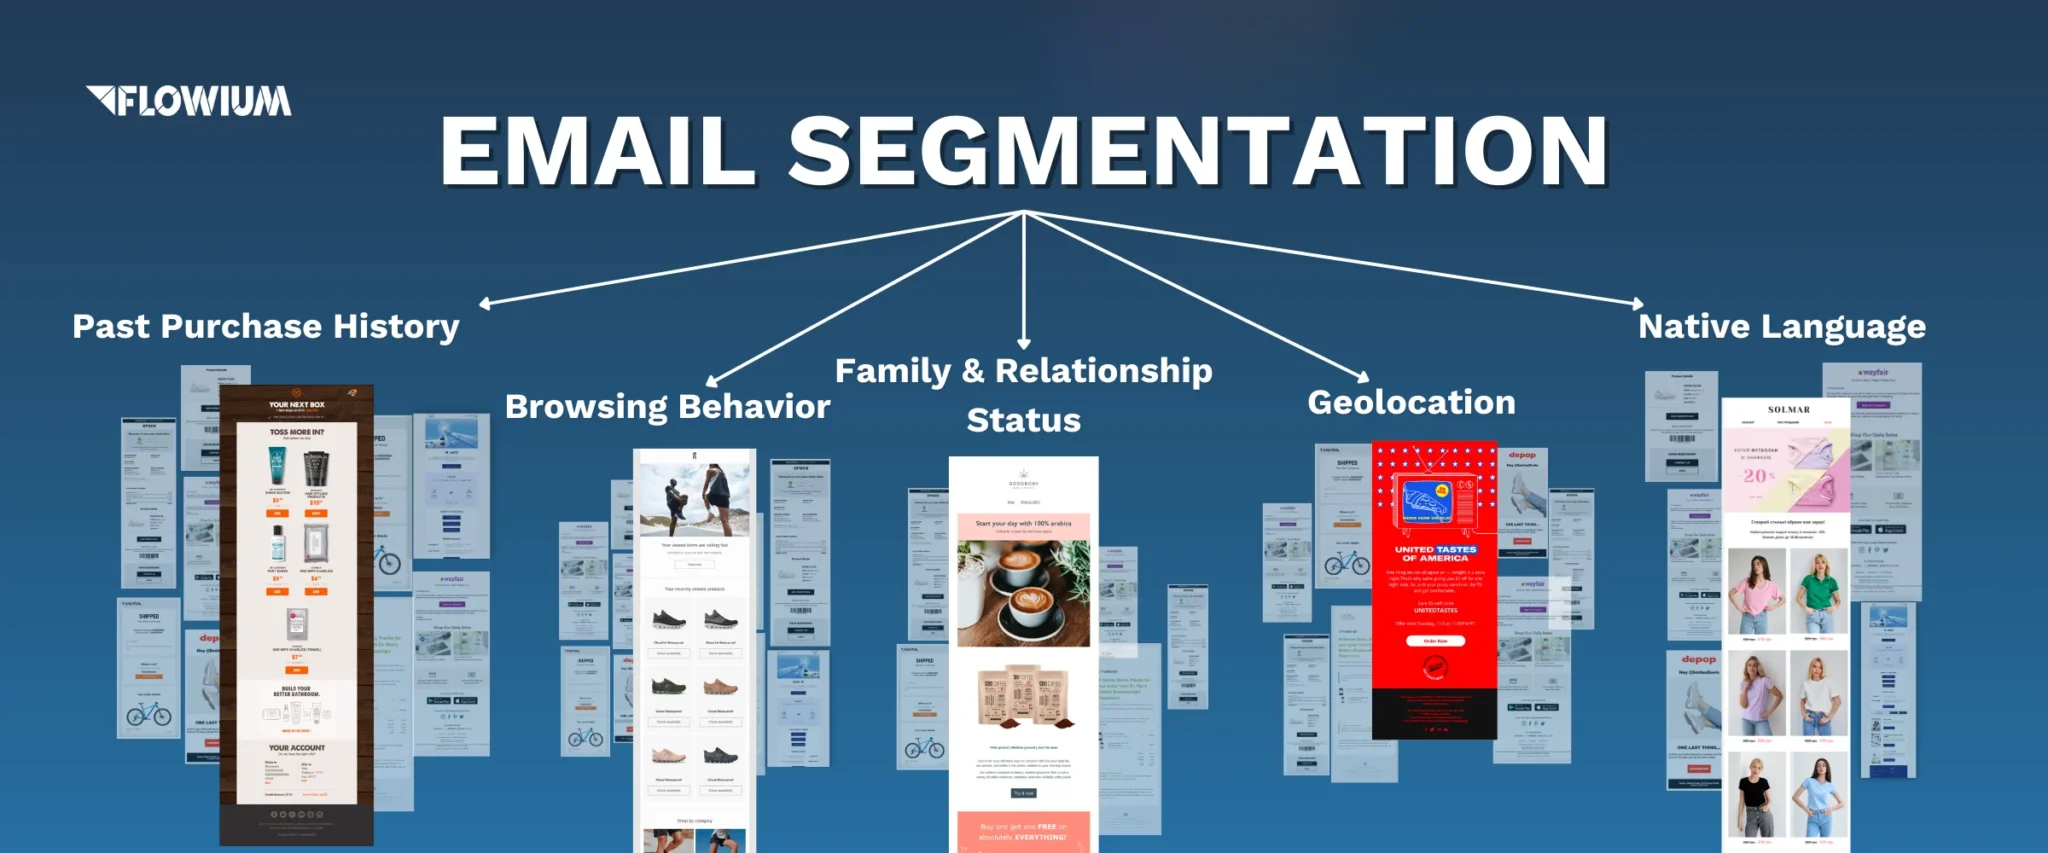
The data points that your customers are giving you can include such things as:
- Information about the things they’re interested in
- How they prefer to browse and shop
- What sort of post-transaction service they expect
- Where they live
- Their age and gender.
All of these bits of data can be used to tailor your marketing strategy to address their specific needs and situations.
List segmentation enables you to create tightly-focused mailing lists based on a wide variety of criteria: from geographic location and timezone, right down to specific browsing habits and the number of clicks they make per page on your site.

A segment for every occasion
Hubspot’s list segmentation tools give you the ability to create lists based on an almost unlimited set of criteria. You could, conceivably, go as far as creating a segment just for customers called Karen if you wanted to.
How to Use Hubspot List Segmentation
Creating segments, or LISTS as they are called in Hubspot, is as easy as clicking a few dropdown menus and following some easy steps.
Let’s do a walkthrough of the basic principles.
From your Hubspot Dashboard
With your Hubspot dashboard open, choose Contacts from the top left corner and select Lists from the dropdown menu. This will bring up a panel containing all of your existing lists.
Incidentally, the Hubspot interface is very clean, uncluttered and easy to use, so navigating around it is pretty straightforward.
Create a new list
On the top right of the lists panel, click on the orange Create List button. This will open a new window where you can insert a name for your list. Be as creative as you like with your list naming.
Now, choose a filter type from the menu on the left. There are lots to choose from, and you can select the one that best suits the type of list that you’re building.
Say, for instance, you want to set up a segment that will send out a welcome email to new subscribers.
You can select the Form Submission option, and then select the parameters you desire for that list such as “has filled out form on any page” option.
Watch your list populate
Your Hubspot Customer Relationship Management (CRM) system will now search out all of the clients on your database who have filled out a form and populate the list with those client’s email addresses.
If you now go back to your Lists page (one-click back), you’ll see your new list at the top of the index of lists and the number of clients contained within that list.
As time goes on, the Hubspot CRM will add contacts to that list as soon as they take the action you have specified: in this case, filling in a form.
Active and Static Lists
An Active List is one that will be automatically updated whenever a client undertakes the procedure specified by that list.
A Static List, on the other hand, is a list containing certain segments of your database.
For instance, you might have a number of suppliers that you want to contact every month. By adding them to a Static List, their details will always be in the same place, and they can all be sent the same message at the same time, according to whatever trigger you choose to set up for that list.
You can set up a Static List by choosing this option during your initial list setup.
After you have clicked the Create List button (that nice orange one) you’ll see a dropdown menu on the left which contains the Active List or Static List options.
Coffee time
And that’s all there is to it! The beauty of the Hubspot list segmentation workflow is its simplicity and ease of use.
By not bamboozling you with a clutter of options, you are free to concentrate on setting up lists that are the most appropriate for both your business and for your client database.
Now, before you head out for a cappuccino and a muffin, let’s have a look at a few tips to make your Hubspot list segmentation activities even more effective.
Tips for Using Hubspot List Segmentation
The Hubspot interface is clean and tidy. So your email list should be the same.
Furthermore, because you have gone through a lot of trouble to set up your segments, you need to ensure that the messages you are sending to each one are also neat and tidy.
Tidy up your database
Keep a close eye on your unsubscribe clients and those that don’t reply or engage. Get rid of the clients that have fallen into this category, as there is no point hounding people who aren’t interested.
Your Unsubscribed and Low Contact Engagement lists sit there on your dashboard, so periodically go through these lists and purge them.
It may simply be a case of shifting clients to a different list, which may engage them more. Or…you may, sadly, just have to wave them goodbye!
Keep your lists organized and up-to-date
Your clean and purged lists still aren’t set in stone. Good segmentation relies on constantly amending, updating and recreating your lists.
So it’s a good idea to regularly go through your lists and rejig them wherever you can.
Keep your list of properties and definitions concise and appropriate. Ensure you don’t have lists that duplicate each other and result in similar emails being sent to the same client contacts.
Chat with your staff to find out which lists they think are working best.
Know your audience
The key to successful email marketing is knowing your audience. You need to get inside their heads, put yourself in their shoes, and figure out what makes them tick.
By doing this, you will find it easy to place them into the most appropriate segments.
This will ensure that they receive emails that will:
- Attract their attention
- Pique their interest
- Create a desire to buy your product or service
- Make them take the actions that you want them to.
So alongside of having a neat, tidy, and organized set of segments, make sure that the emails you send to these segments are relevant, have catchy subject lines, and contain as much personalization as possible.
Hubspot List Segmentation Will Grow Your Business
Whatever line of business you are in, by segmenting your client database into ever more focused and targeted lists, you will ensure that the messages you want to send to your customers are timely, appropriate and engaging.
By opting to utilize the simple and user-friendly tools available in your Hubspot email segmentation workflow, your relationships with your clients will bloom into long-lasting and happy ones.
You could get started on your client segmentation today. Put it on your to-do list!
Learn More
The Best Email Segmentation Tools For Your Email Marketing Campaigns
How to Use Email Segmentation with Mailchimp
5 Email Segmentation Ideas — Build Better Email Campaigns for Your Brand