As the owner of an eCommerce business, when you send emails to all your subscribers, you may have surely noticed some people unsubscribing. Though no business likes people to leave, email unsubscribes are actually more beneficial than harmful.
This is because unhappy subscribers are more likely to mark your emails as spam. If you use Klaviyo as your marketing platform, you will be required to provide a Klaviyo unsubscribe link at the footer.
Let’s take a look at why a Klaviyo unsubscribe link is important, how you can create one and what you can do to prevent people from leaving.
The Need of the Klaviyo Unsubscribe Link
A Klaviyo unsubscribe link is placed at the footer of an email. It allows subscribers to cancel their subscription when they do not want any more emails.
One of the main reasons why Klaviyo has an unsubscribe link is because it is in keeping with the law.
According to the CAN-SPAM Act, all commercial emails need to include a clear and concise way of how subscribers can opt-out of getting your emails anytime in the future.
The law also requires that you honor a subscriber’s request within 10 business days. As mentioned earlier, if you do not allow subscribers to opt-out from receiving your emails, they will mark it as spam.
Marking emails as spam is a very serious issue and it can destroy your email deliverability. Email clients like Hotmail, Yahoo, or Gmail can also start to filter your emails as spam for all subscribers even if your abuse rate is 0.01%.
The great thing about using the Klaviyo platform for emails is that if you forget to add an unsubscribe link to your email, Klaviyo will automatically add it at the footer of your email.
How to Create a Klaviyo Unsubscribe Tag
To create a Klaviyo Unsubscribe tag follow the steps mentioned below.
- In Klaviyo, a basic Klaviyo unsubscribe tag will be automatically added with the text, “Unsubscribe”
- To create an unsubscribe tag, head to your email template
- Select existing text or add new text to your email
- Insert {% unsubscribe %} or go to Insert Tag and click on Unsubscribe from the dropdown menu
- To style your unsubscribe tag, after you insert {% unsubscribe %} insert your text after the word unsubscribe within single quotation marks {% unsubscribe ‘YOUR TEXT’ %}
- You can also alter the tag by providing only the URL. To do this you need to place your unsubscribe tag within <a href></a> tags. For example it could be <a href =”{% unsubscribe_link %}” style=”color: blue;”>Unsubscribe here.</a>
How to Add a New Custom Klaviyo Unsubscribe Page
First of all, you need to have a paid account, because it’s not available for free.
- Click on Hosted Pages.

- Add a new page and name it Email Preferences.

- Now you have a standard Unsubscribe page, but it’s still empty.
Add a Code
Here is a link to Klaviyo website with information about managing the Preferences Page.
- Go by the link and copy code, which Klaviyo provides for building an Unsubscribe Page.

- Paste the code to the Content Management window in your Klaviyo account.


- Add your logo to the Asset folder.
- Click Save.
You have created a much better version of Unsubscribe Page. There are a couple of options to stay on your site and get only interesting information for your clients. This will help to keep them in your system.

Add a Logo
- Click on the Asset folder and upload your logo. Make sure it fits the size 300x75px.
- Right-click on your logo image and choose Open in a New Tag and copy the link of your image.

- Go to your created email_preferences.tmpl.
- Find the line #102 and change the address there with the link you have copied.
- Click Save.

Step #1
List & Segment
- Go to List & Segment – it’s in the right column.
- Click Create New.
- Choose Segment and name it.
- Make Condition Properties – Properties about someone.
- Choose Email Interest contains blog or any other options you need.
- Click Create Segment.

Step#2
Preference Pages
- Go to Preference Pages – it’s in the right column.
- Scroll to View All Pages.
- Find Manage Preferences. Click on Use custom page and select your email_preferences.tmpl.
- Do the same with the Unsubscribe Page. Click on Use custom page and select your email_preferences.tmpl.
Pay Attention
- You have to do it manually every time you create a New List.
- You have to go back to List & Segments. Click on each list and manage Subscribe Pages.

- Under each one Manage Preferences and Unsubscribe Page do the same – click on Use custom page and select your email_preferences.tmpl.
With these simple steps next time your clients will click to Unsubscribe link they will have a number of options and preferences. You can also change all of the options to whatever you like in your code.
Tips to Reduce Klaviyo Unsubscribe Rates
Here are some tips to consider for reducing your Klaviyo unsubscribe rates.
Deliver relative content
The most important reason why subscribers may choose to unsubscribe from your email list is because they do not relate to the content that you sent.
One way you can streamline your content is to use email segmentation so that you can deliver only customized content to all your subscribers. For this you should collect relevant and specific details from all your subscribers.
Allow people to choose their email frequency
You should let your subscribers choose the frequency with which they want to receive your emails. They could choose whether they want to receive it several times a day, or just a few times a week or even once a month.
This prevents their inbox from getting overfull to the point that they get annoyed and want to leave. Include this option in the person’s email preferences at the footer.
You should also include this option in the unsubscribe link as this could be the last effort to save your subscriber.
Allow your subscribers to choose what emails they want
You should map out relevant content emails to each segment and allow your subscribers to choose what email you want at each cycle.
This ensures that your emails and content are as relevant as possible, and your audience will not be encouraged to unsubscribe.
Offer subscribers different methods of communication
Other than emails, you should allow your subscribers to choose whether they would like to be reached by RSS, SMS, your blog, or social media sites.
Send emails at the same time each day
Figure out the best time to send your email through your subscribers by testing. Once they get accustomed to receiving emails from you at the same time each day, they will know what to expect.
Get feedback
No matter how hard you try, some people will still unsubscribe from receiving your emails. At that point ask them what went wrong and listen to their feedback. More importantly, you should act on it.
If you have high unsubscribe rates, try to decipher why people are unsubscribing. Maybe you need to tweak a few things in your emails like the email subject lines, the content to make it more attractive.
When consumers unsubscribe from your emails, it may appear like you are going backward, but this is not all negative. As long as you’re producing high-quality material, the majority of your connections should stick around.
You want subscribers that respect you and interact with your content. In other words, it allows those who do not wish to interact with you to opt-out of getting emails from your company. A Klaviyo unsubscribe link is an excellent method to keep your list clean.
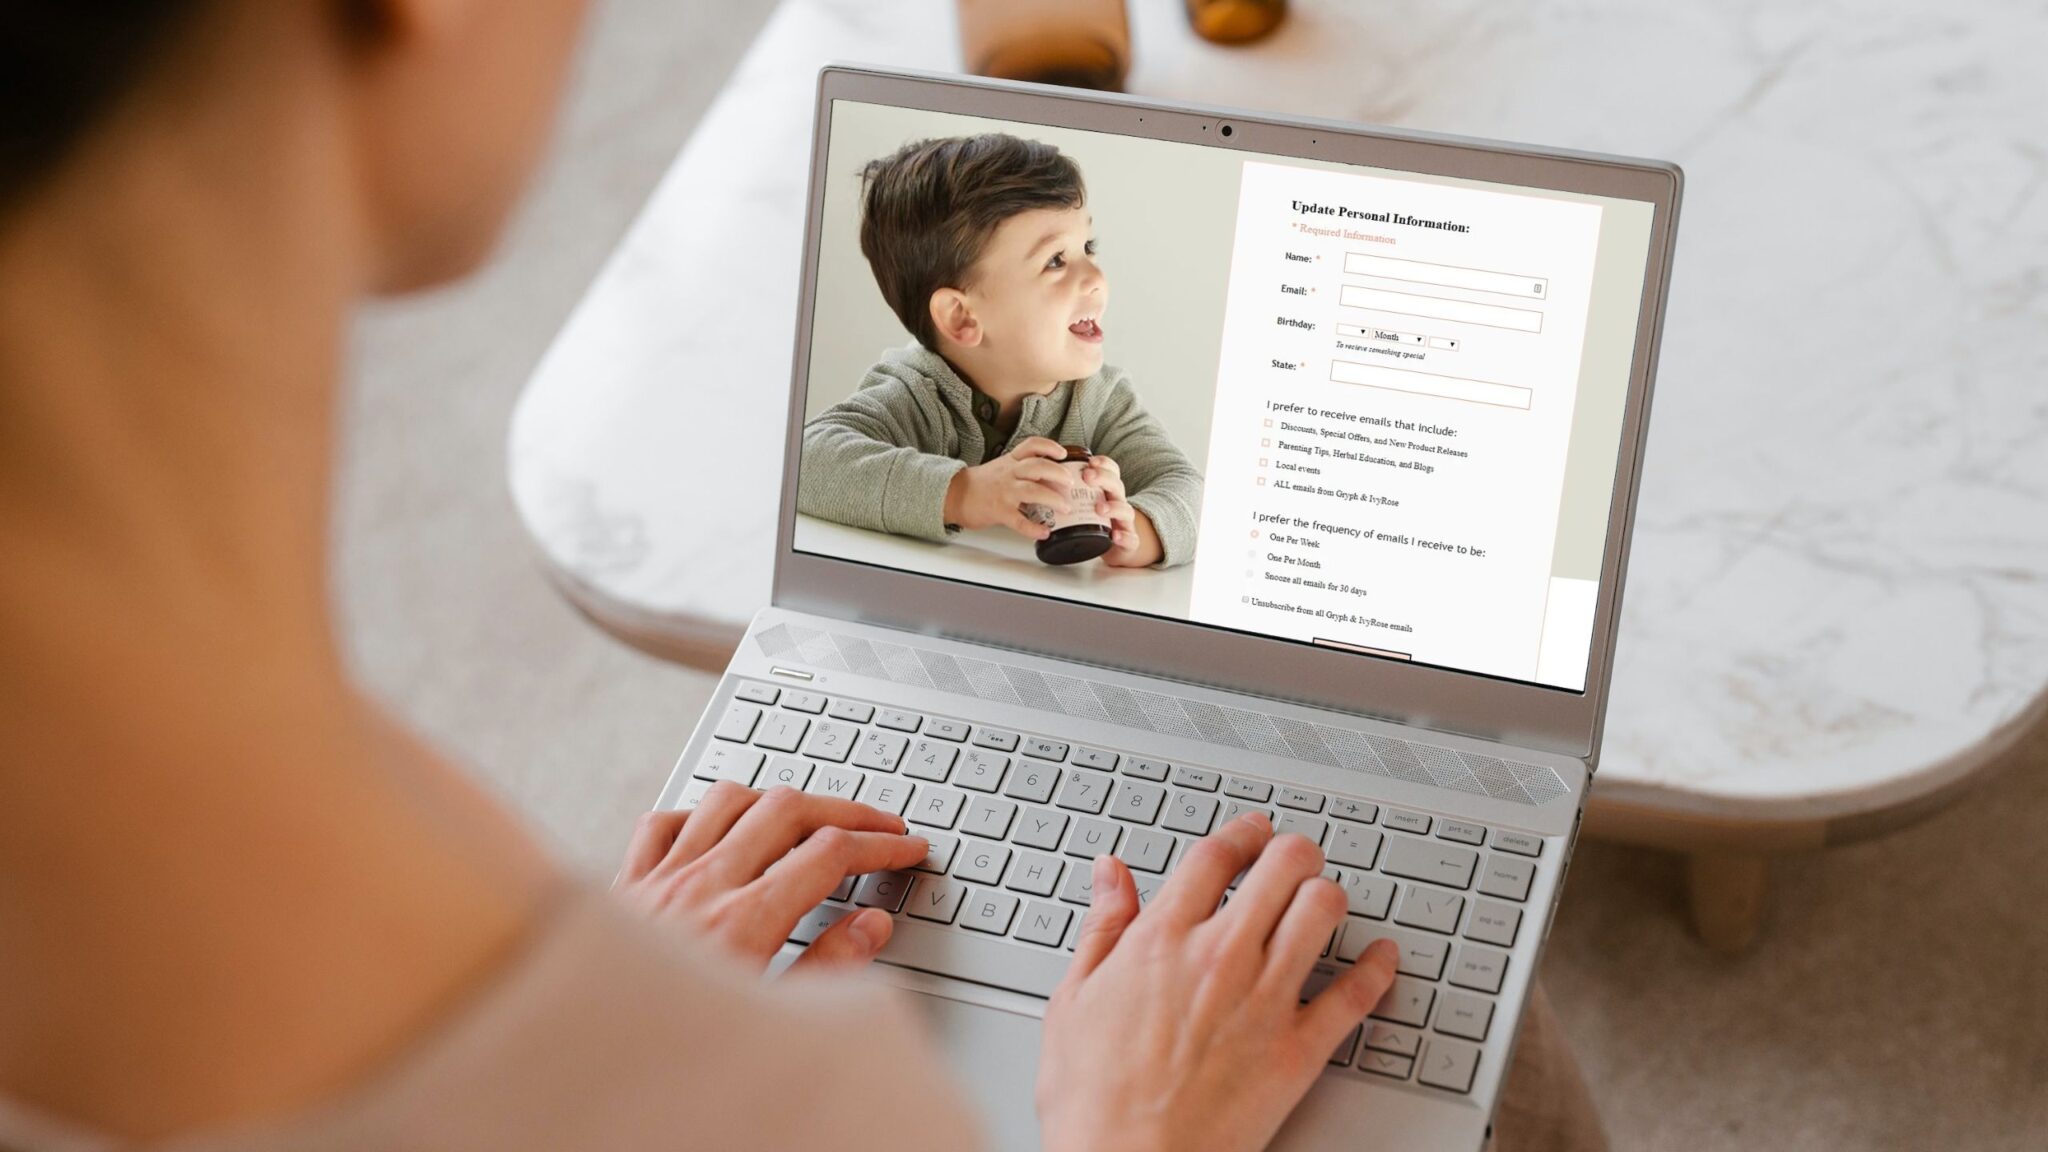
Unsubscribe Page Examples
Here are some of the unsubscribe page examples.


Frequently Asked Questions
Where do you have to place the Klaviyo unsubscribe link?
The Klaviyo unsubscribe link is placed at the footer of the email. It allows subscribers to cancel their subscription when necessary.
Why do you have to add an unsubscribe link to your emails?
It is required by various laws concerning user rights. For example, it is stated in the CAN-SPAM act, or the GDPR for the European Union. Every user should be able to easily unsubscribe from any commercial emails.
What if I don’t want my customers to unsubscribe from my email list?
You cannot force anyone to stay on your email list, as it opposes user rights. But you can be convincing enough to make your subscribers stay for your content and unique value. Discover our tips to reduce unsubscribe rates in our article.


![How to Do a Klaviyo Audit? [Expert Guide]](https://flowium.com/wp-content/uploads/2023/02/klaviyo-audit.png.webp)